Plan a foldable hardware demo: a three-shot brief
If you move the camera while a product unfolds, it gets harder to tell what changed. Plan the closed view, the opening action and the open view before you record. Keep the hinge in the same part of the frame so viewers can compare the two configurations.
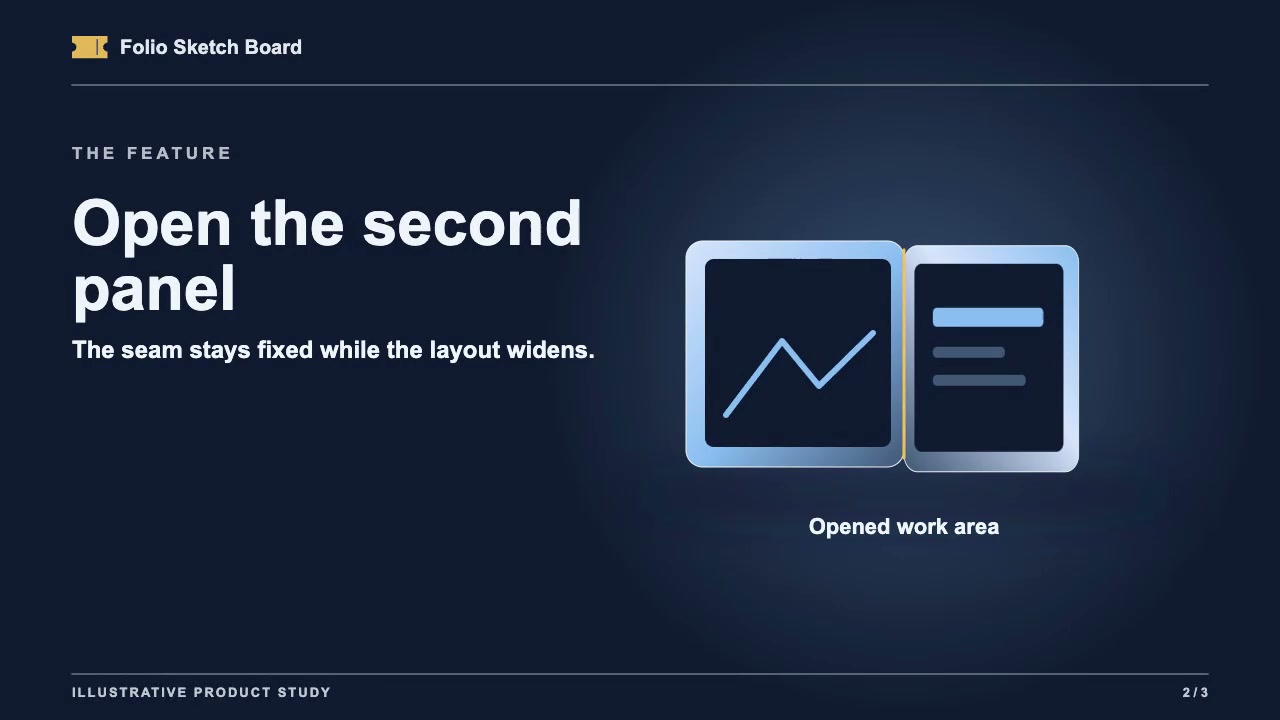
Watch the 14-second Hinge Open Reveal example. The animation shows an illustrative sketch board. One work surface is visible at first, then the second panel opens around a fixed seam and the shot holds on the wider work area.
What to check in the animation
The Hinge Open Reveal page includes an action frame at 7.12 seconds, captioned “The seam stays fixed while the layout widens.” Use that point in the 14-second animation to compare the fixed hinge and opening panel with your own shot plan.
This is an animated reference, not a recording of your hardware. The Skill is marked Premium. You can use the brief below to plan a live-action shoot without obtaining the Skill.
Plan the three shots
- Closed. Frame the device so the hinge is visible and the moving panel has room to open.
- Opening. Lock the camera and keep the base in place. Review the take for any moment when a hand covers the movement you need to show.
- Open. Hold the frame until a viewer can point to the extra surface. Use a short caption if the new area needs a label.
If the part detaches instead of folding
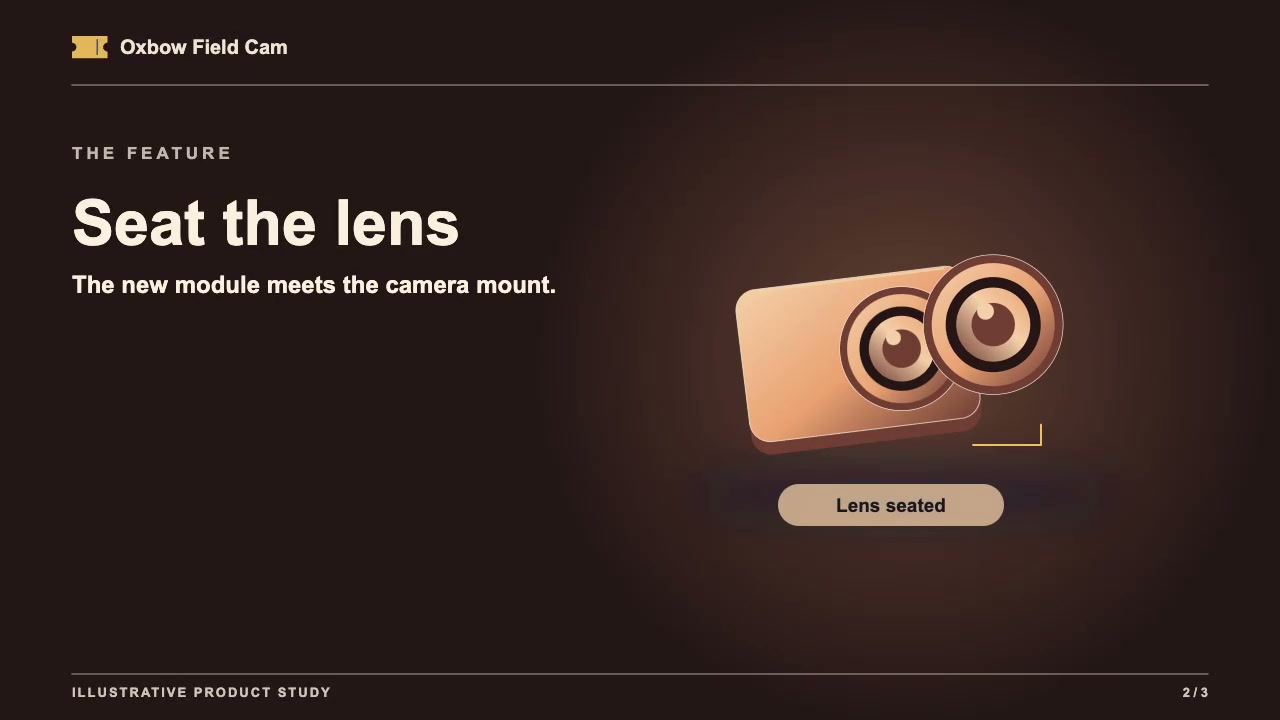
For a detachable part, keep the mount in view. Sketch the part clear of the body, the moment it meets the mount, and the final seated position. Pause on the middle sketch and ask a reviewer to point to the contact point without reading the caption. If the part or a hand hides it, change the viewing angle before recording.
Use the 7.64-second Lens Change Reveal still as a framing reference. The example page describes this as the moment the new module meets the camera mount. It is an animated reference, not a lens installation guide.
Copy the production brief
Show [product] in its closed position. Keep [base panel] in place while [moving panel] opens around [hinge]. Hold the final view so we can see [specific change]. Label only what is visible in the footage.
Check one take
Watch the take muted. Pause at the start and at the end, then compare the hinge position and the visible surface. If the moving panel leaves the frame, pull the camera back and reshoot before adding captions.
To tell whether the camera or the base shifted, compare a fixed mark on the table with the hinge before and after the panel opens. If the mark moves in the frame, secure the camera and retake. If the mark stays put but the hinge moves, steady the base and retake. If both stay put, check whether you can point to the added work surface without the caption.
Open the 7.12-second Hinge Open Reveal still to see the reference pose. It shows one moment in an animation; use two frames from your own take to check for drift.
Check both seams when two accessories snap in
Keep the center unit still and frame both mounts. Pause the take as the accessories meet the mounts and ask someone to point to both seams. If they can see only one, change the angle or shoot a close-up of each mount.
If the demo also shows a change in an app, use the software demo video template to plan the starting screen, the action and the visible result.