Storyboard a ribbed product reveal in three frames
Before you film or animate a ribbed product reveal, sketch the same stationary casing from one angle. Start with the outline, add a narrow highlight, then plan a final hold that shows both the ribbed face and the outer edge.
Draw the outline, highlight and final hold
- Draw the casing at an angle that shows both the ribbed face and its outer edge. Use the same frame proportions as your planned video.
- Sketch a narrow highlight across a few ribs. Leave some rib lines outside the bright strip and keep the outer edge visible.
- Draw the frame you would hold at the end. Keep the ribs and outer edge in view, and leave out labels and arrows for the review.
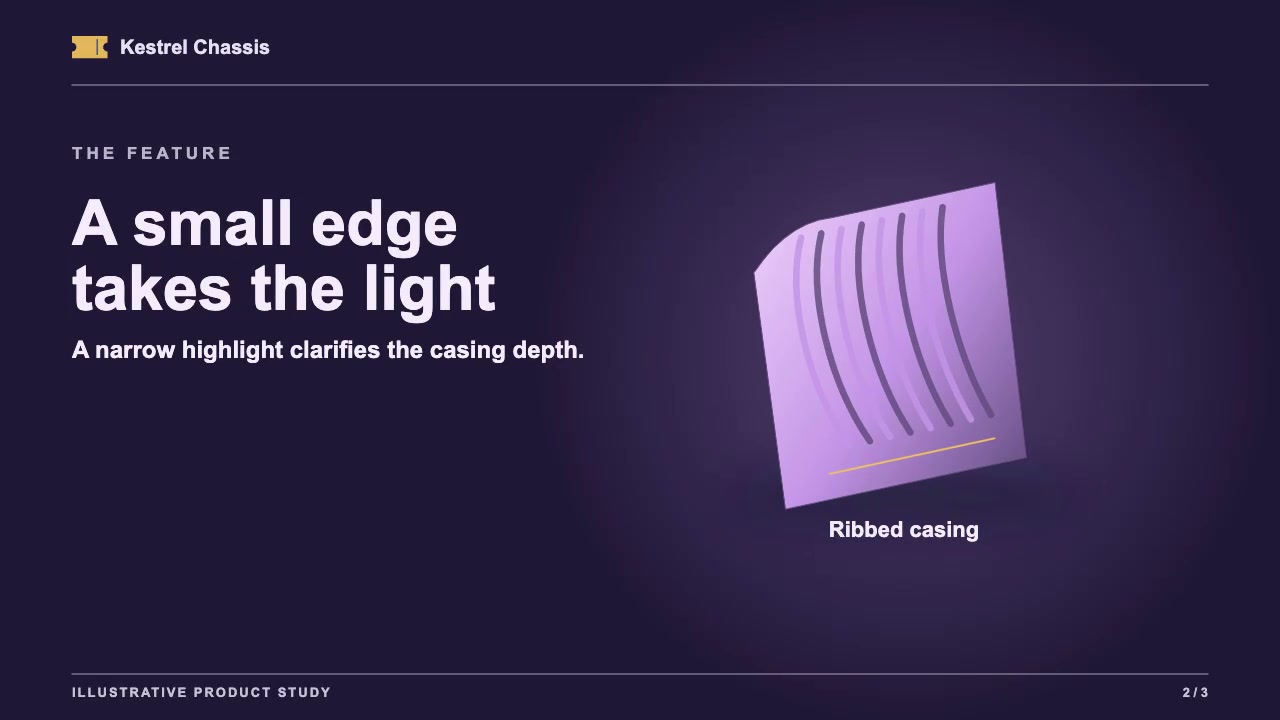
Compare your middle sketch with the 6.6-second Surface Rib Reveal still. The sample page describes a narrow highlight and parallel ribs in the same frame. Use this animation still as a framing reference, not a lighting setup for your product.
Check that the ribs and edge read without a caption
Show the last sketch on its own at the size viewers will see it. Ask someone who has not seen the storyboard to point to the ribs and the casing edge. If the ribs blend into the highlight, narrow the bright strip. If the edge disappears, change the angle in all three sketches. Show the revised last frame and ask again.